

A Brief Guide to Grouting and its Application in 6 Easy Steps
Grout is a combination of sand, cement, and water or chemicals that are used to fill gaps in surfaces. They're utilized for mending concrete fractures, filling tile seams and gaps, sealing and waterproofing gaps, and stabilizing soil.
Grouting is basically a process of injecting a pumpable material into a structure to change its physical properties. It's also employed to offer load-bearing constructions' foundations a boost of strength.
Let us know some other benefits of grouting outdoor tiles:
- Grouting can be done on any surface, thus it's simple to grout your external tiles as well.
- Grouting is a shock absorber that does not cause vibration. This aids in the preservation of the stone's structural integrity.
- Grouting also protects against seepage, groundwater movement, and toxic waste materials when there is too much disturbance in your garden/patio or your car drives over the tile.
- If you choose to grout your tiles, watering your yard, rain and snow will not harm them.
- It can be used to straighten up a crooked surface. This will help to give an uneven surface a consistent appearance, which is frequently the case when it comes to painting.
Tile grouting necessitates some material understanding as well as some technique. It can be a simple task with the appropriate planning and setup. To grout tile, The Stone Flooring has got some simple DIY steps:
-
Prepare the Grouting Surface Area
Are you replacing old, broken, or stained grout or grouting tile in a new space? Remove any existing grout before applying fresh grout. Clean up any leftover residue with a grout saw or a powered rotary tool, as well as a putty knife. Ensure that the grout joints, as they are known, are as clean as possible before applying the fresh grout.

-
Begin in One of the Corners of Your Project Area
Place a small amount of grout on a section of your tiling. Starting in a corner of your project space and working outward from there is a good idea.

-
Distribute the Grout
Once the grouting is on the ground, spread it evenly across the gap with your grout float. Maintain a 45-degree angle with your grout float to allow the grout to spread evenly without becoming inconsistent and to prevent the float's edge from digging into the soft grout.
-
Working Diagonally Across the Spaces is the Best Way to Go
To avoid scraping or digging and to guarantee an even application, move in a smooth, flowing motion.

-
Clean Up the Area Where the Project is Taking Place
It's time to clean up once you've filled all the holes with grout. You can use your grout float to remove any excess grout from your tile's surface.
-
Using a Damp Sponge, Go Over the Area
Prepare two buckets of water when your grout has mostly dried. Sponge away any excess grout on the surface of your tiles in a circular motion. Fill one bucket with parched sponges and the other with clean water to keep it hydrated. To guarantee that your tiles are clean and free of grout haze, repeat the sponging operation roughly three hours after the first one is finished.
Conclusion
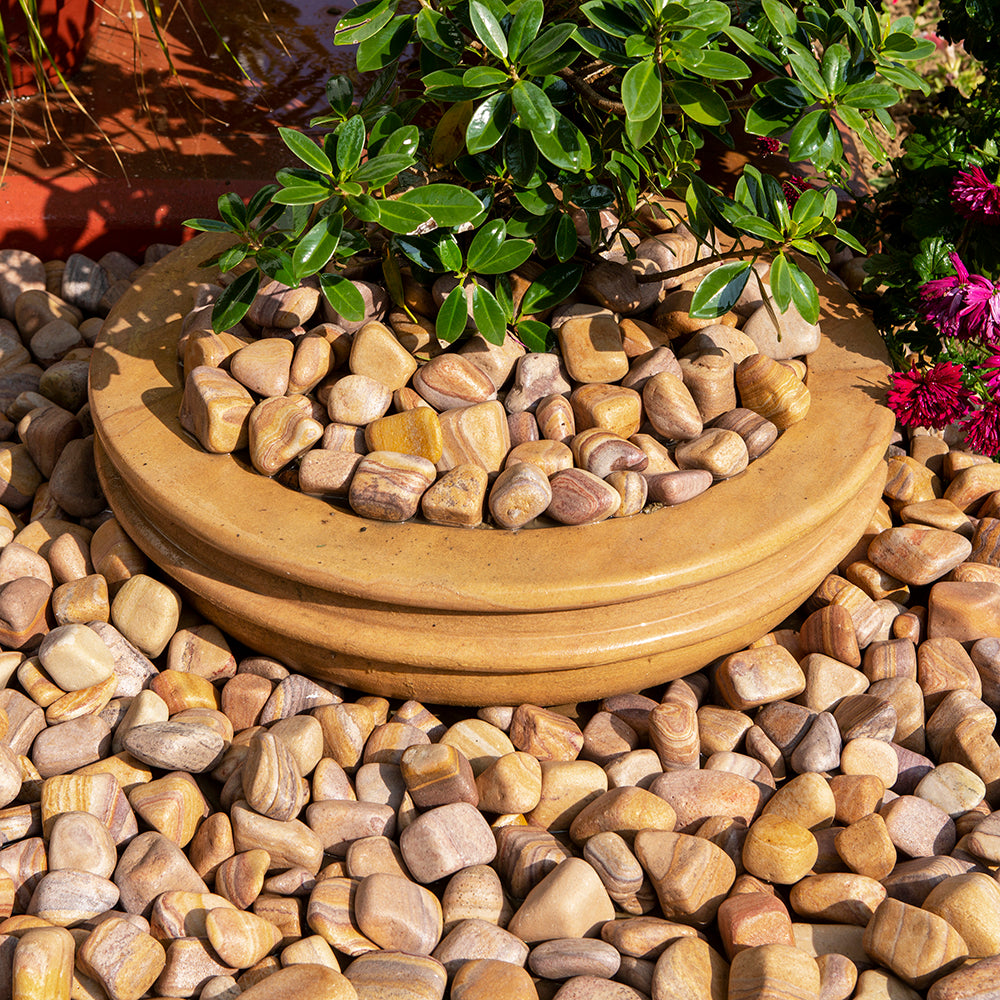
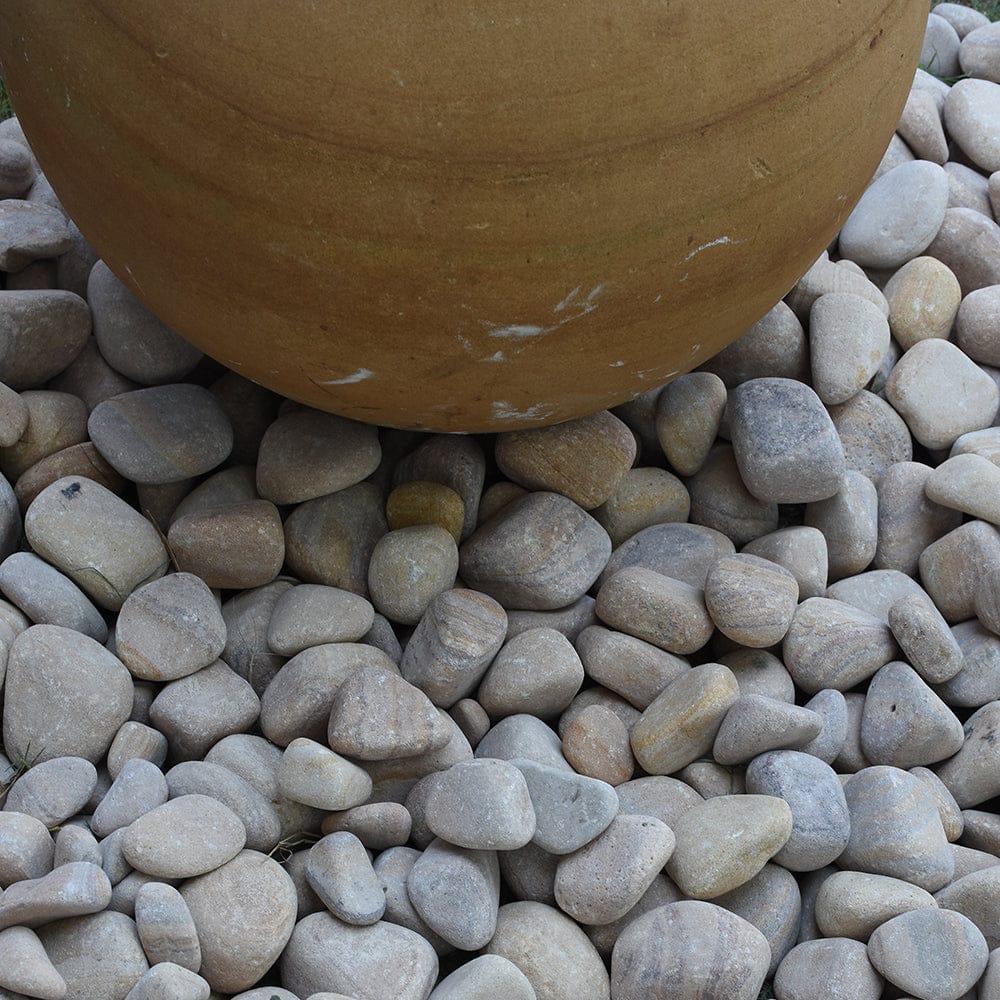
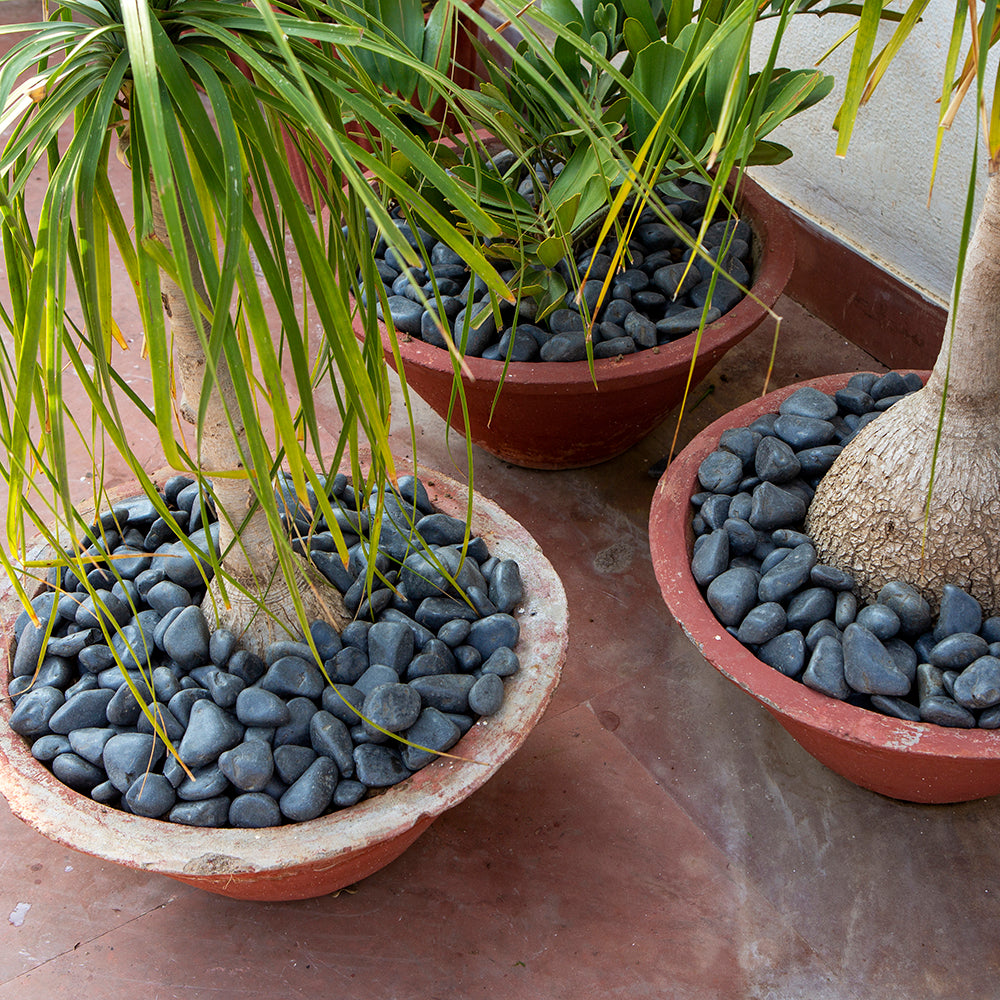
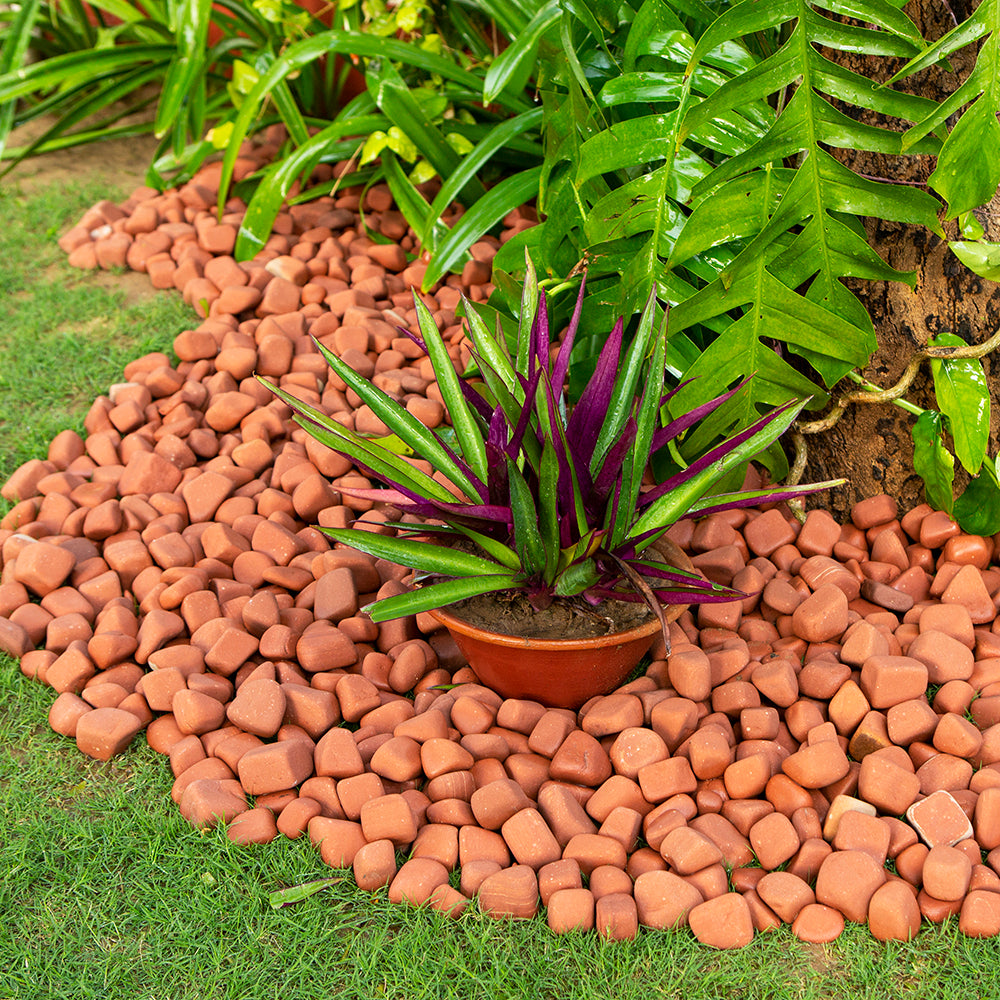
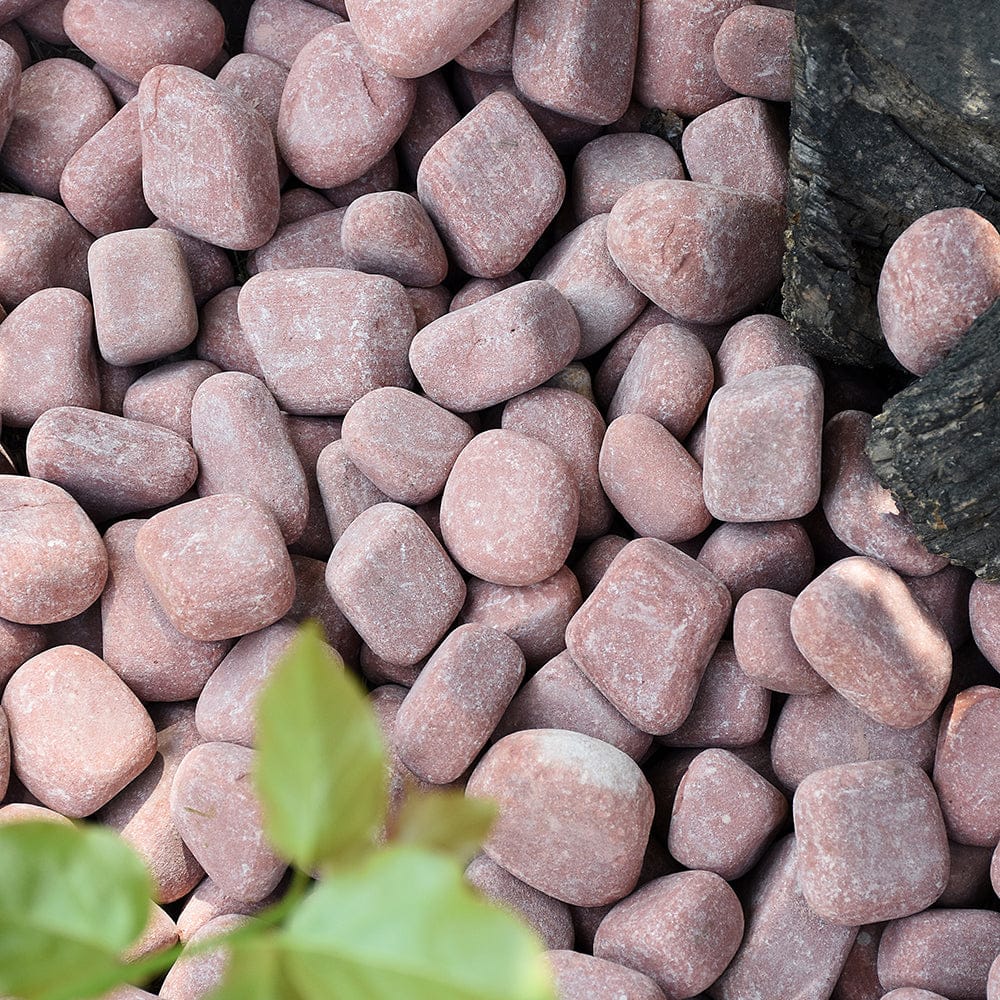
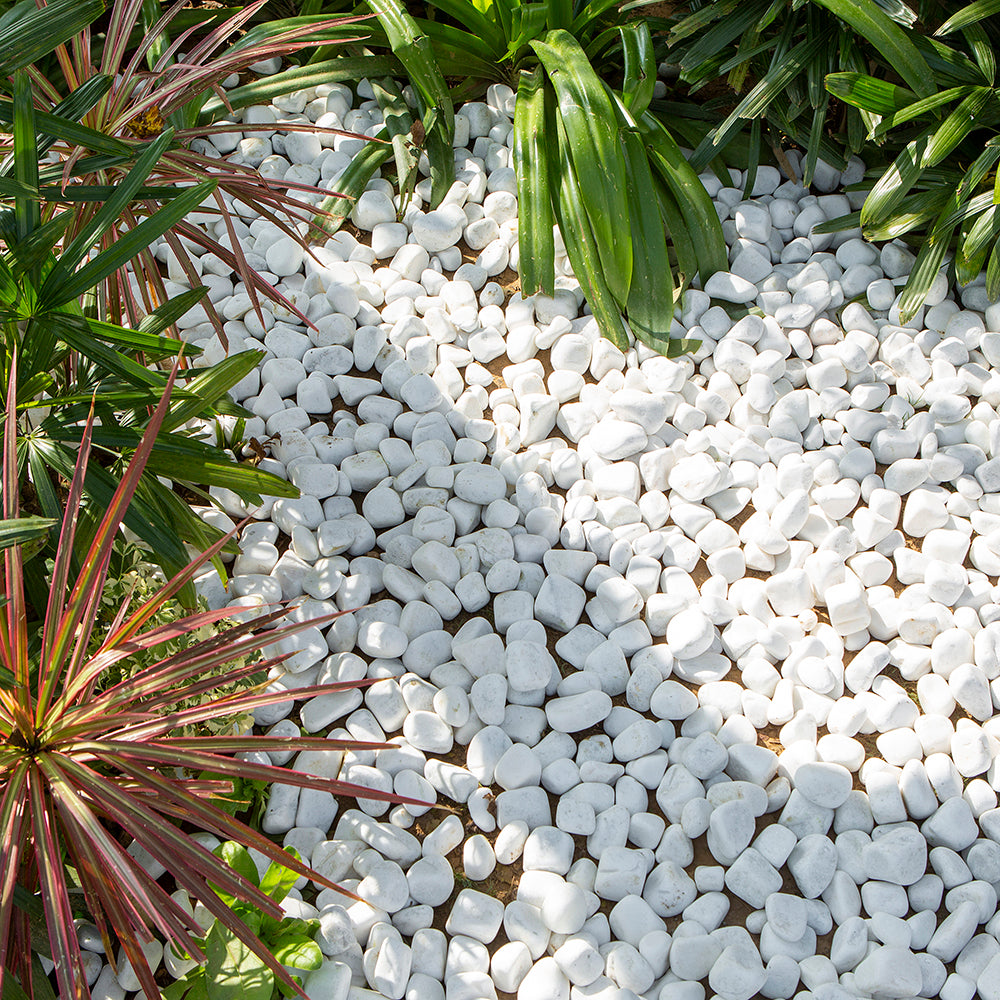
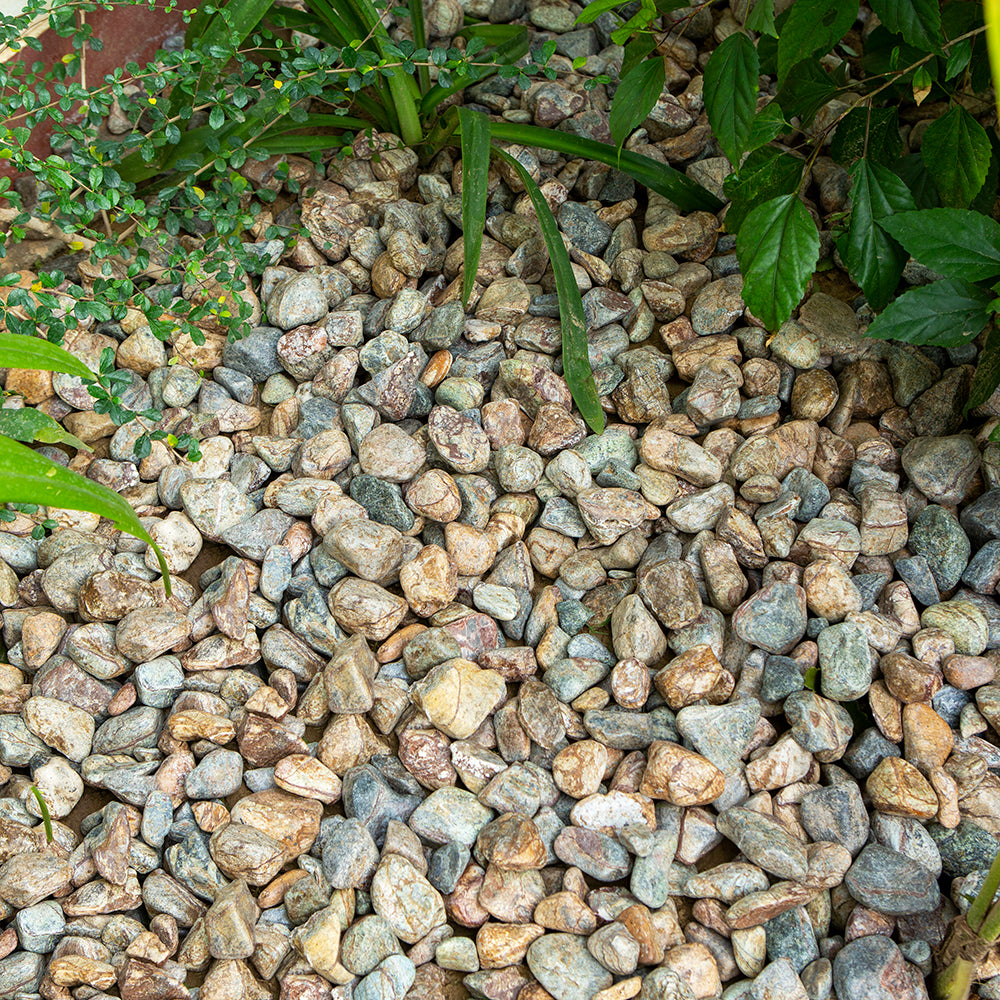
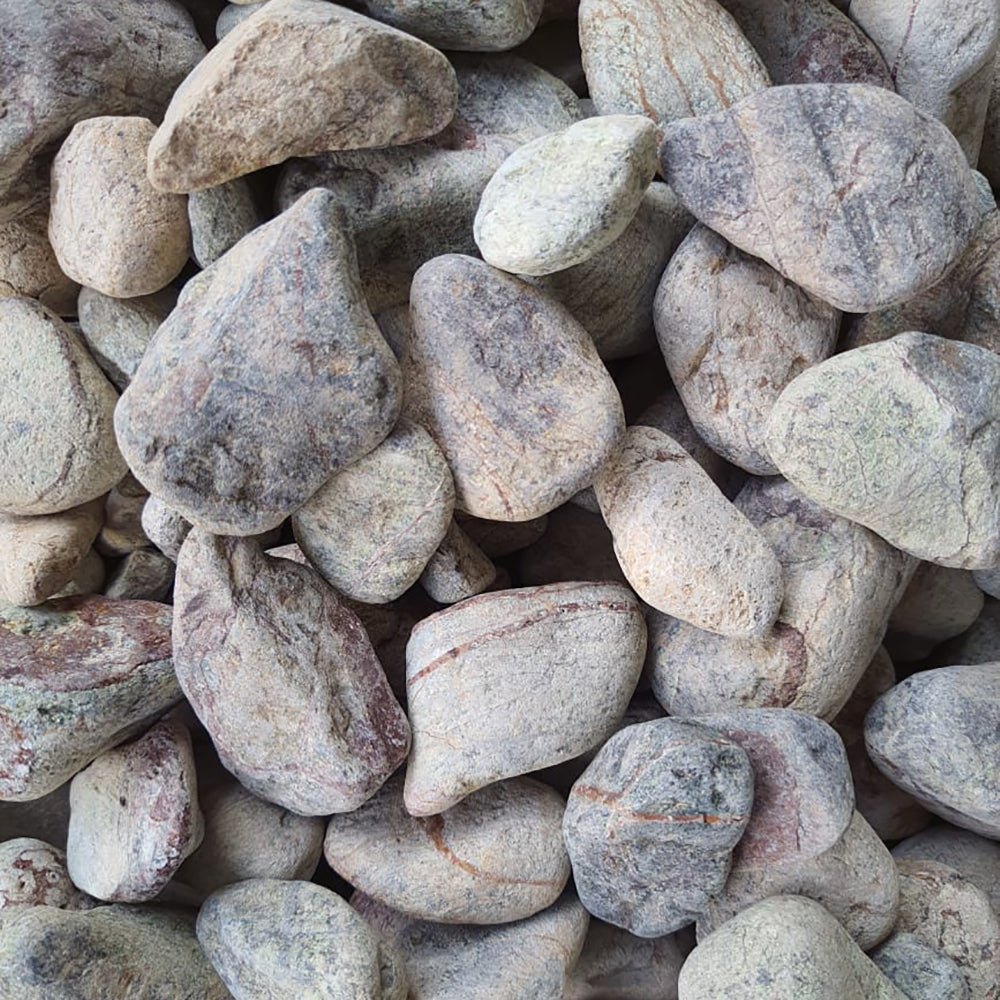
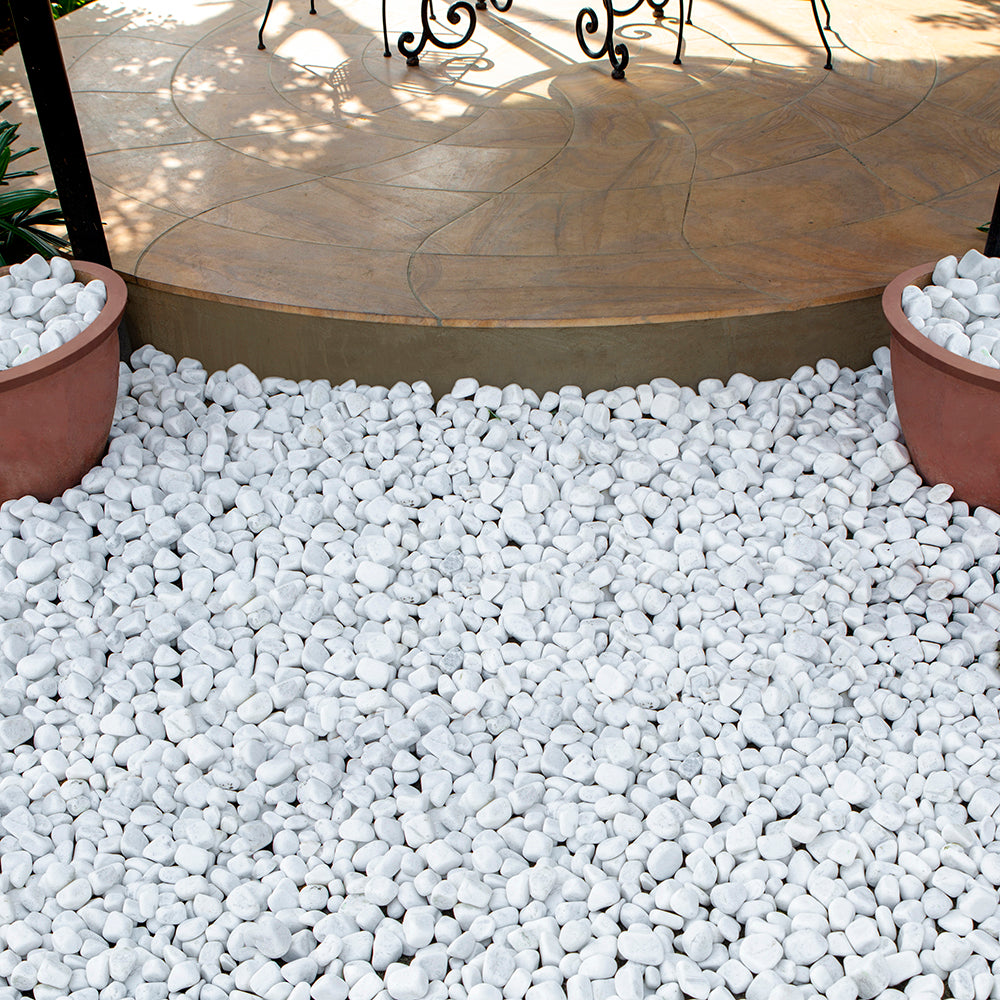
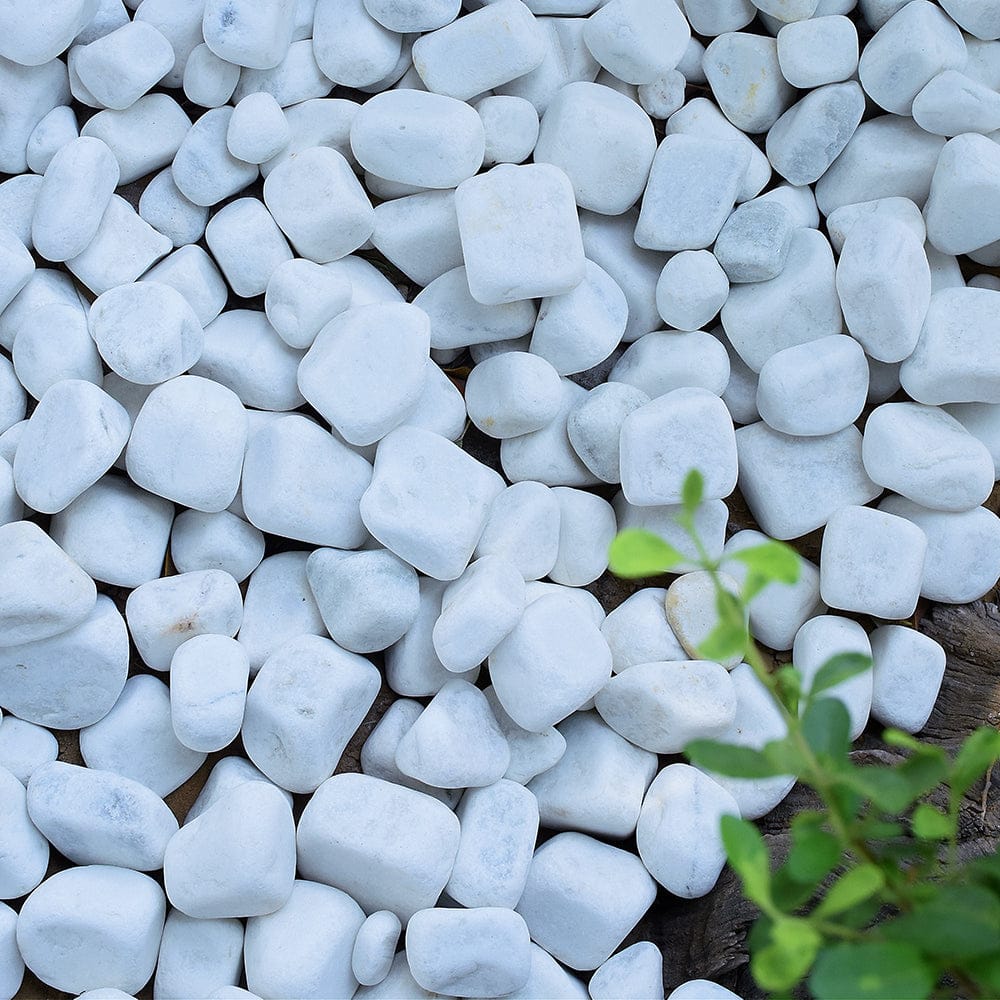
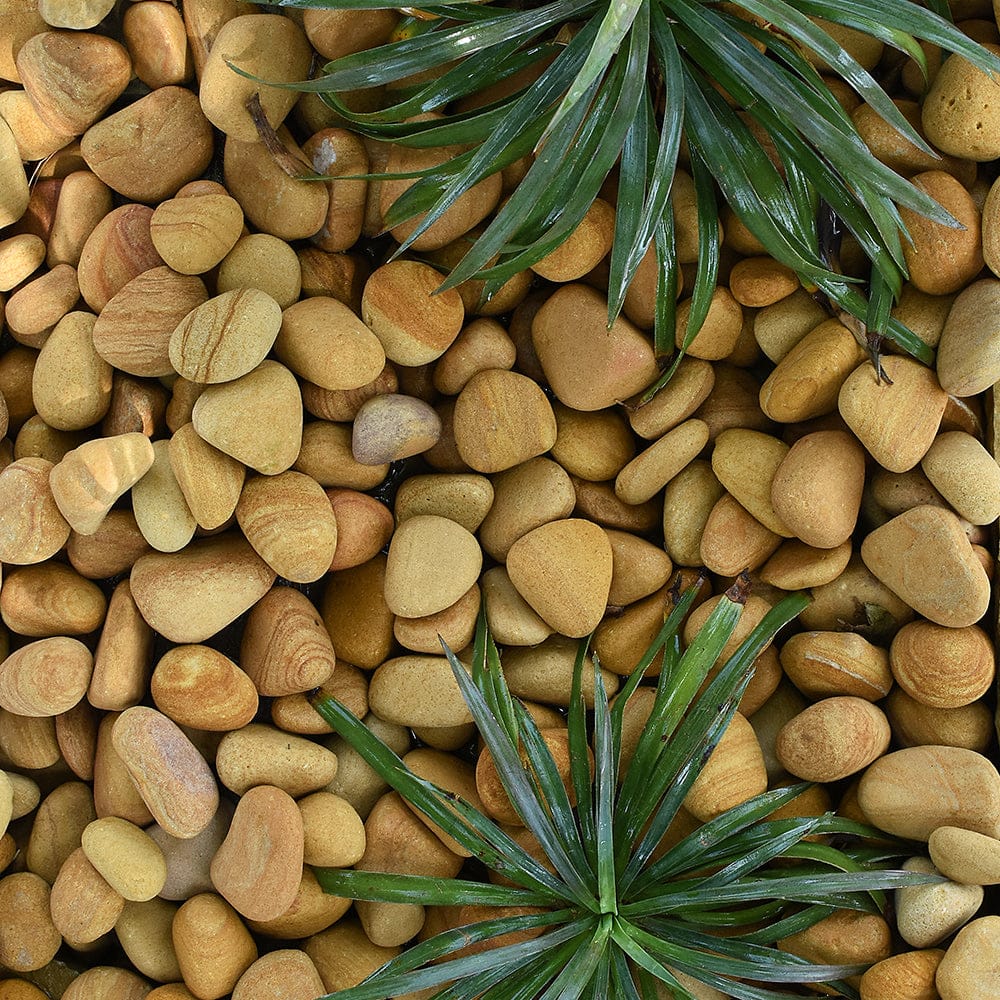
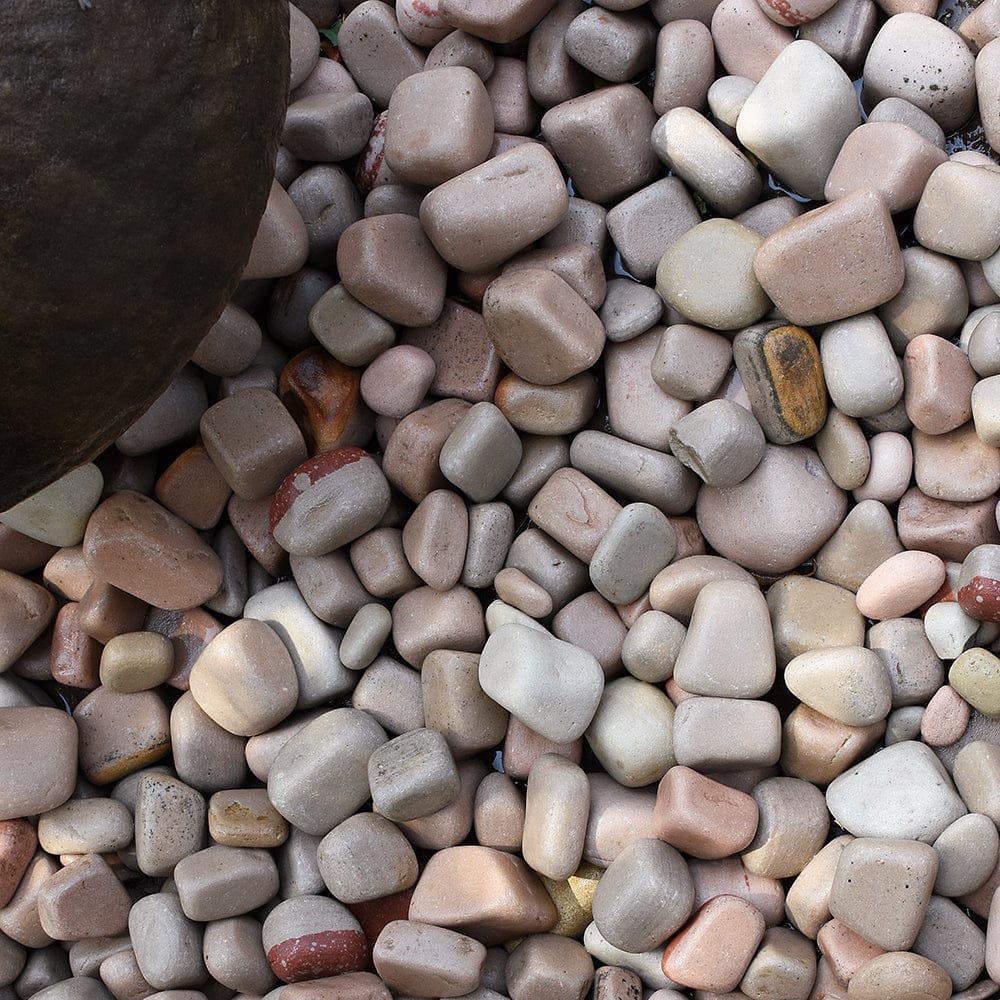
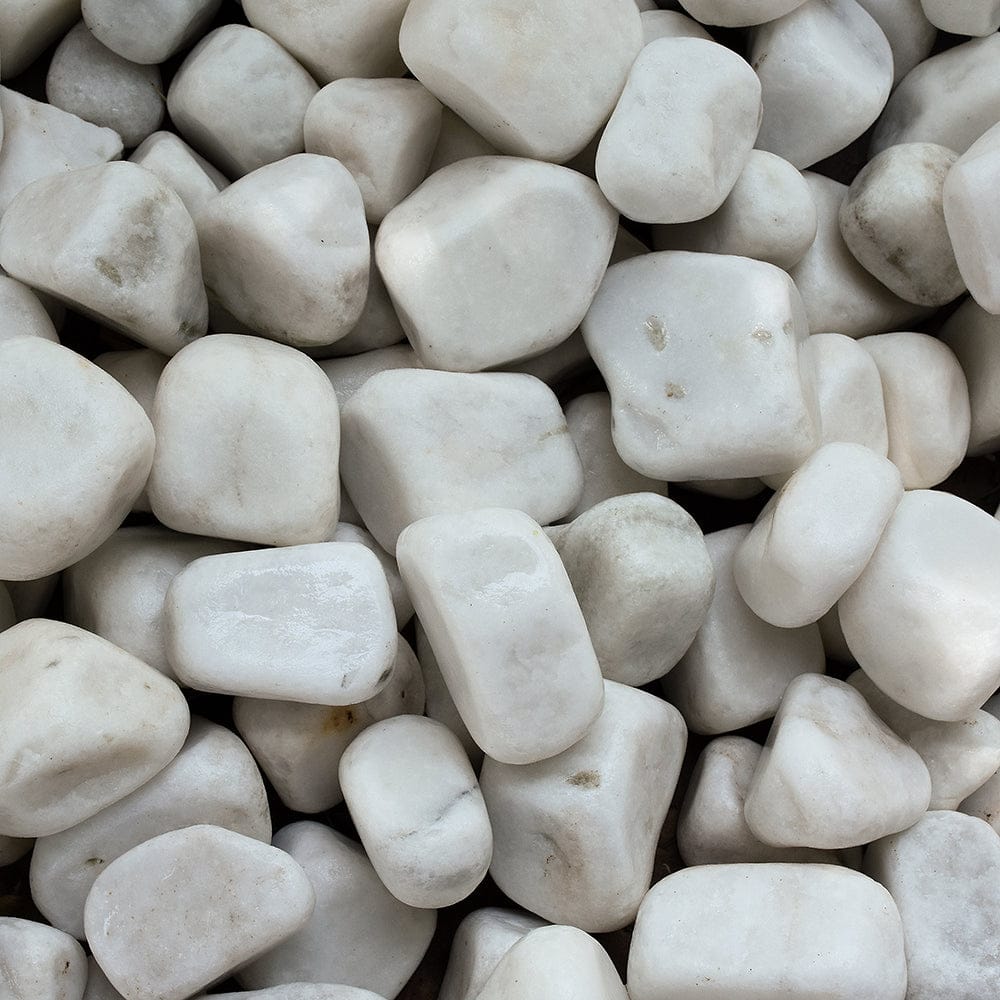
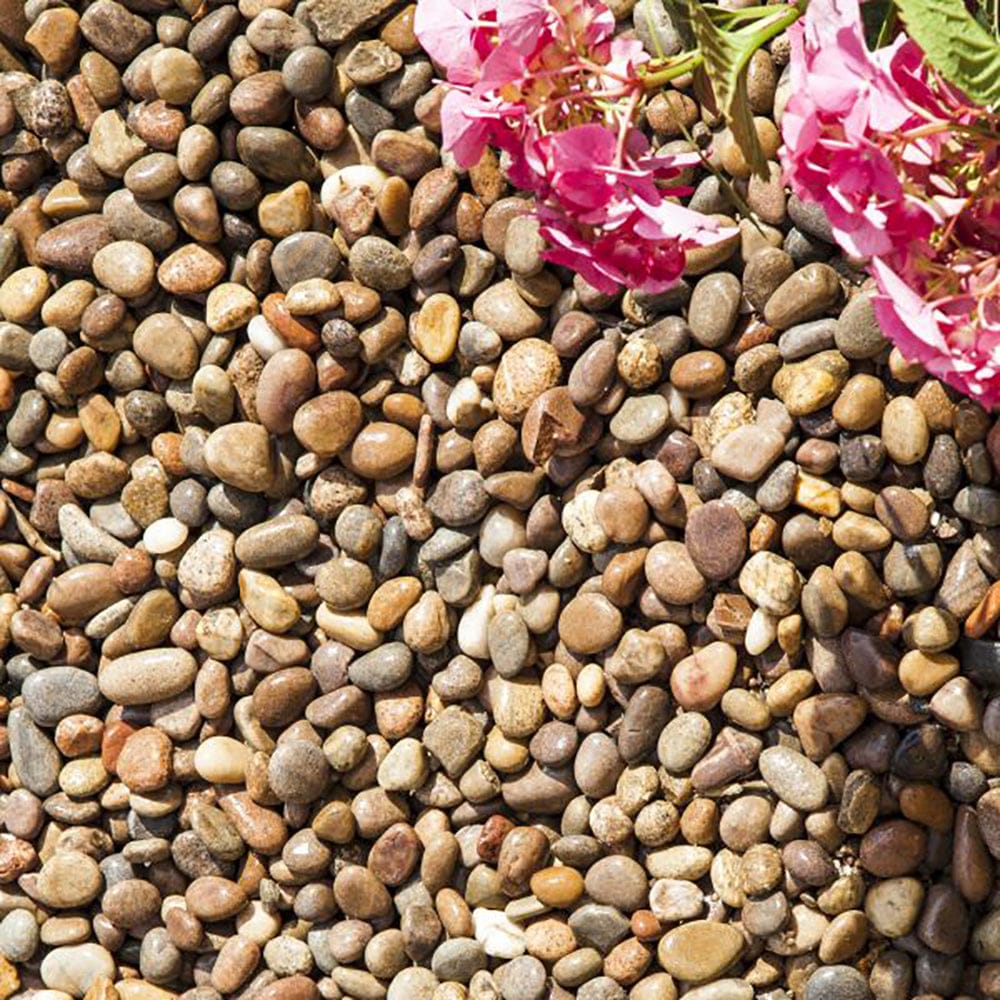
Even though grouting for natural stone tiles for outdoor is solely a matter of personal preference, it is still recommended. Some individuals fill the tile gaps with sand or stones to give their garden a more stylish aspect, while others add plants to give it a more natural look. These styles may appear attractive and offer a personal touch to the external design, but they do not provide any protection for the tiles. If you opt to grout your stone tiles in your yard or patio, it will increase their durability as well as give them a classic tile aesthetic.
Also read, Changing lives- The Stone Flooring social responsibility programme
Related post

22
Dec
RECENT POSTS